Related pages
- Index - Home
- Track Plan, Map
- Latest News
- Locomotives
- Rollingstock
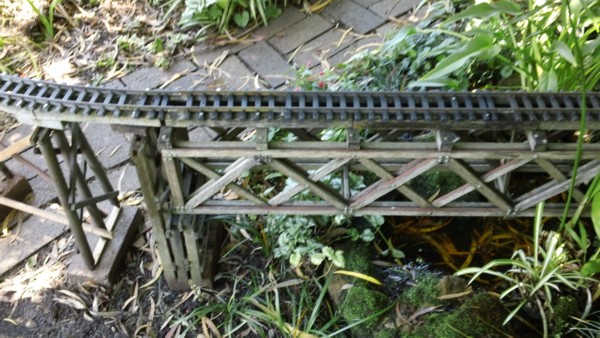
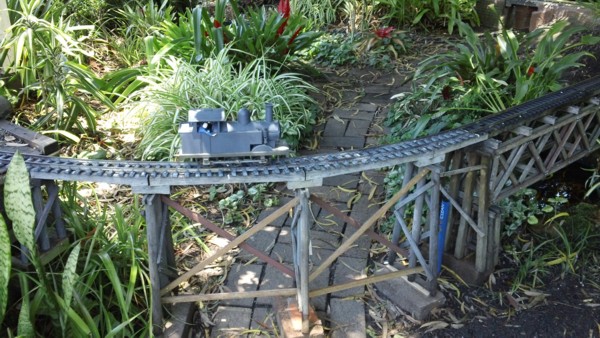
- Bridges
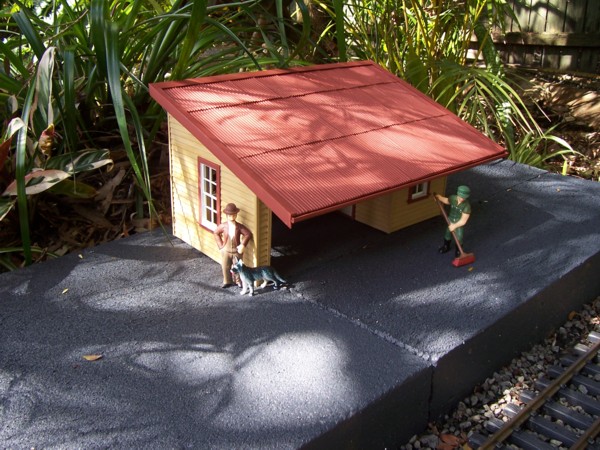
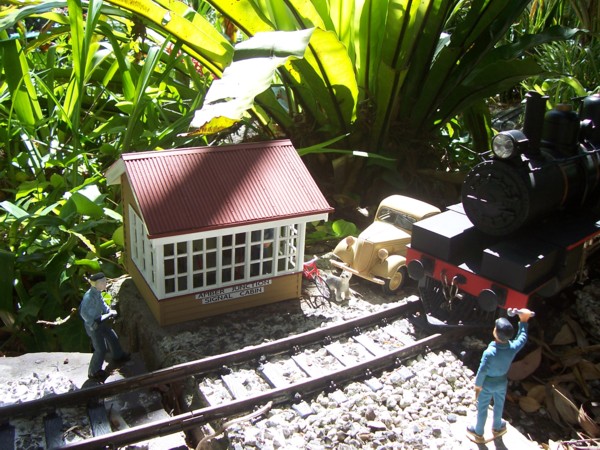
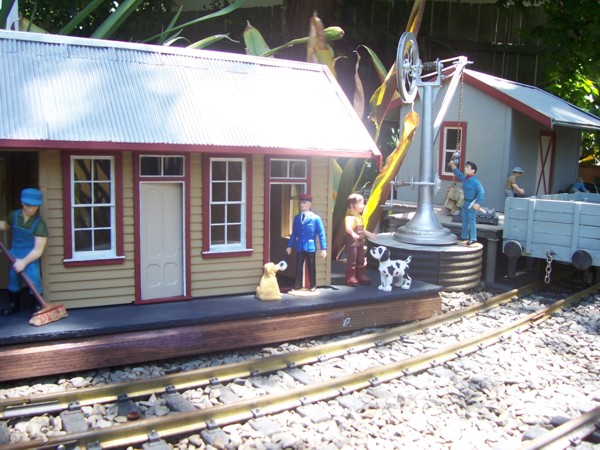
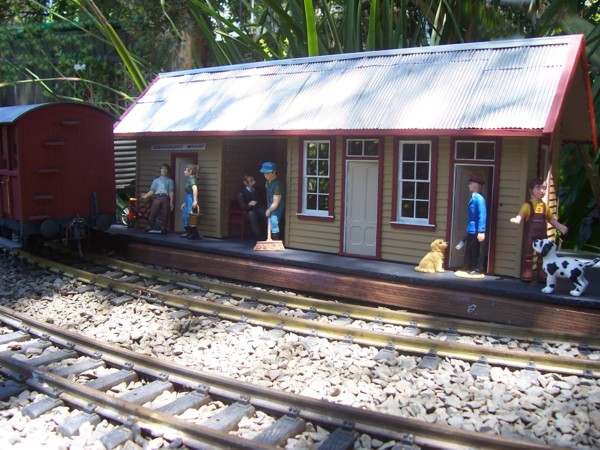
- Buildings
- Line Side
- Description
- History
- Links
- Basement
.
Map of BTR
.
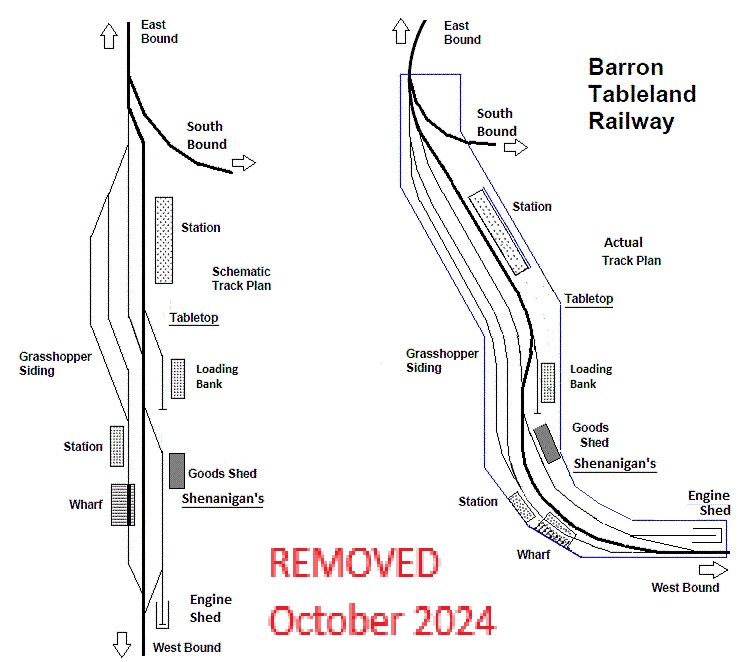
Diagramatic Track Plan
at Tabletop
Diagramatic Track Plan
at
Shenanigan's Wharf
.
Map of Southern Line
.
.
.
.
.
Top circuit "Go Around"
&
whole layout "Loop to Loop"
.
.
.
.
.
.
.

.

.
.
.
.
.
.

.
.
.
.
.
.
.
.
.
.
.
.
.
.
.
.
.
.
.
|

_ _ _ _ _ _ _ _ _ _ _ _ _ _
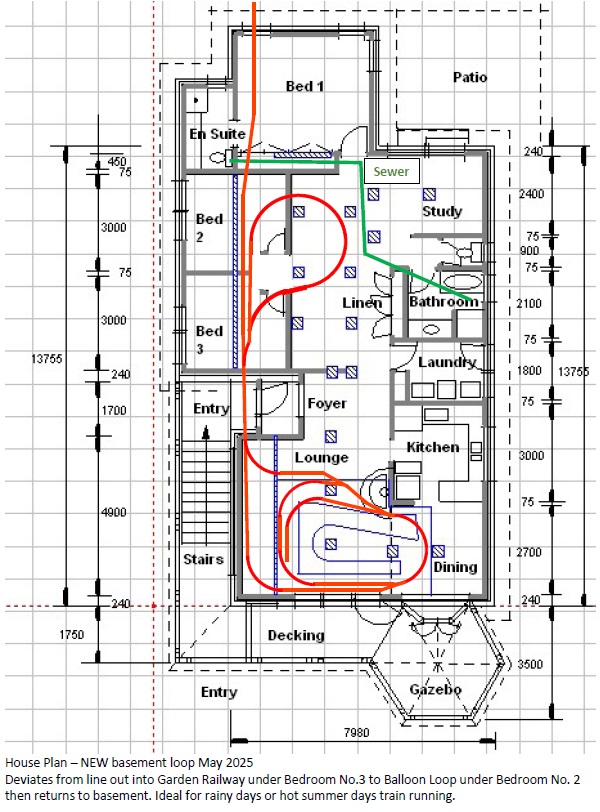
Latest Update; 11th June 2025
_ _ _ _ _ _ _ _ _ _ _ _ _ _
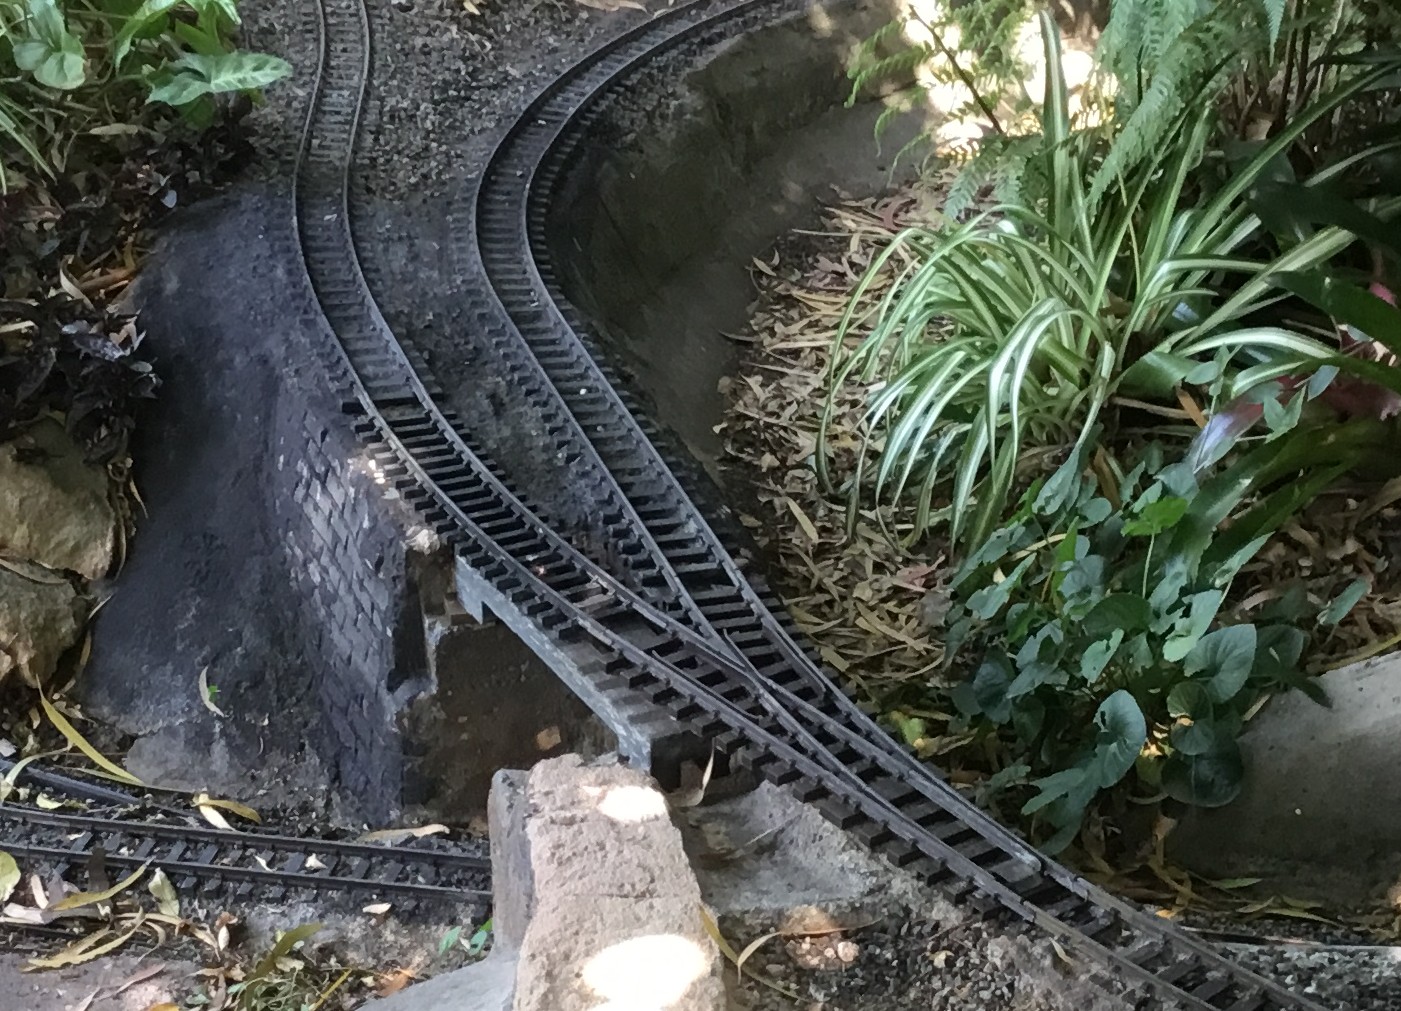
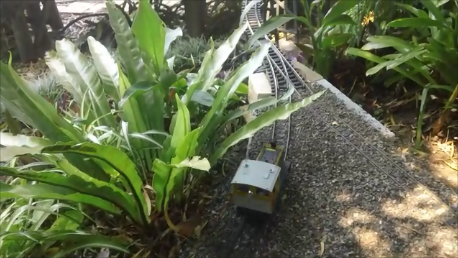
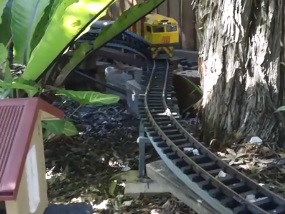
Rails from house basement emerge at lower left of the drawing below.
The line crosses the pathway to connect to Garden Railway at Sundial Junction.
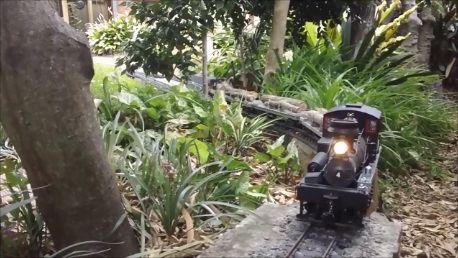
Trains meander through rainforest up to Cubby Halt, then up to Skink Station
then through the Spiral Cutting then onward to Purgatory Scrub and beyond.
From there trains can run through a reversing ballon loop to decend through Spiral, or, run a circuit and go around at top level.
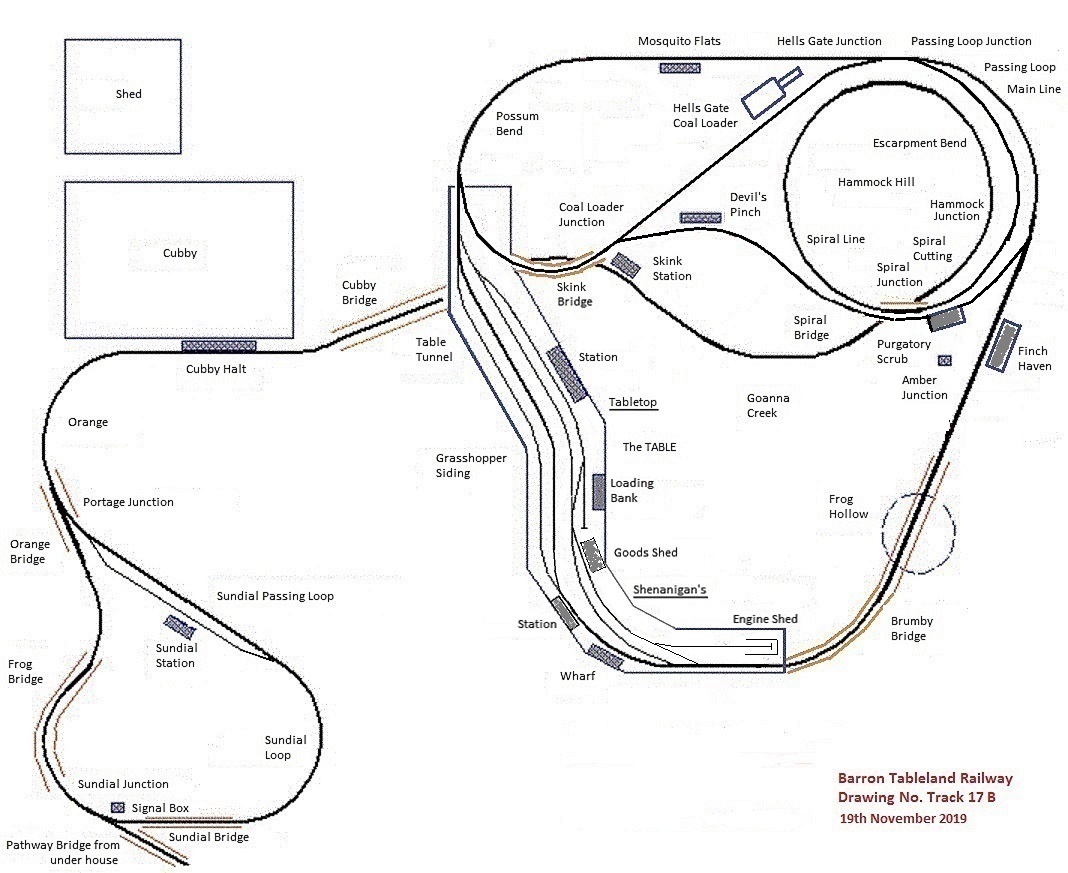
The drawing above is 'clickable' so you can view an enlargement.
.
The Line Map schematic below depicts the former journey which started at Tabletop Wharf then decended down grade from the Tablelands to the seaside town of Shenanigan's Wharf, thence along the coast to the seaside town of Sundial. From there,
trains run a return trip back up to Shenanigan's and then back up to Tabletop.
This Line Map (below) formerly allowed you to view any locality along the line.
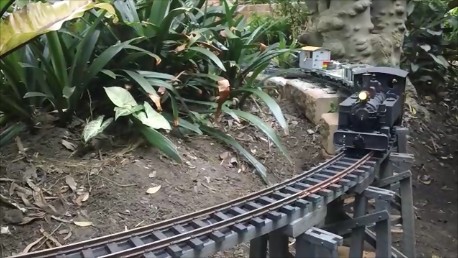
The view is taken from the rear of the train as it travels downgrade.
: Since the TABLE, Tabletop precinct and Shenanigan's precinct have since been removed, they remain shown in RED font. The decent now starts from Possum Bend.
Down the left side is a LINE representation of the route.
- - - - - - - The BLUE font words are 'clickable' - to see pictures.
.
|

|
Tabletop Shunting Lead Road (on the Barron River)
|
|

|
Points to Goods Shed.
|
|

|
Tabletop Goods Shed
|
|
|
Points to Through Road & Station, diverge to Wharf Road.
|
|

|
Tabletop Wharf (on the Barron River)
|
|

|
Back up from Wharf to Points and divert to Station Road.
|
|

|
Tabletop Station
|
|

|
South Junction (from Devil's Pinch or the Coal Loader.
|
|

|
Possum Bend
|
|
|
Mosquito Flats, Combo Station/Goods Shed
|
|
|
Hells Gate Junction (from Hells Gate Coal Loader)
|
|
|
Passing Loop Junction, divert to Finch Haven
|
|

|
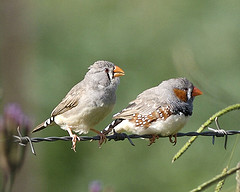
Finch Haven Station platform
|
|
|
Amber Junction (Passing Loop joins Main Line)
|
|

|
Warren Truss bridge over Frog Hollow)
|
|
|
Brumby Bridge, curved trestle & timber girder spans
|
|
|
Junction to Goods Shed & Engine Shed
|
|
|
Shenanigans Goods Shed
|
|
|
Back up to points and divert to Wharf & Station.
|
|
|
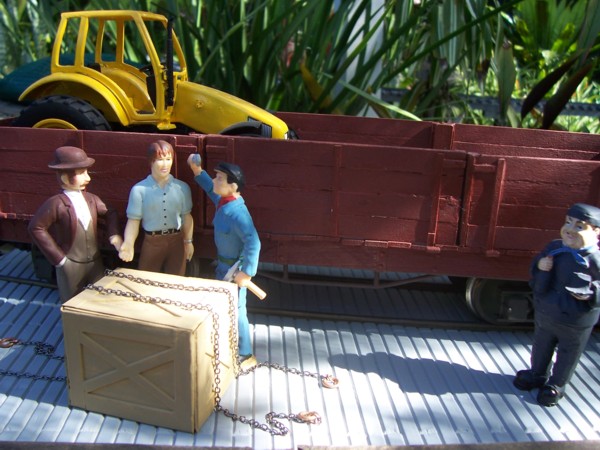
Shenanigans Wharf (on Ocean Bay & the Sea)
|
|
|
Shenanigans Station
|
|
|
Grasshopper Siding (transhipment road) bypass Tabletop
|
|
|
Possum Bend
|
|
|
Mosquito Flats, Combo Station/Goods Shed
|
|
|
Hells Gate Junction (from Hells Gate Coal Loader)
|
|
|
Passing Loop Junction divert onto Passing Loop
|
|
|
Escarpment Bend (for Hammock Junction)
|
|
|
Spiral Junction (divert here to Devils Pinch)
|
|
|
Hammock Junction, divert to Purgatory Scrub
|
|
|
Purgatory Scrub Station
|
|
|
Spiral Bridge (Twin Bridges)
|
|
|
Devil's Pinch Station
|
|
|
Coal Loader Junction (line from Coal Loader)
|
|
|
Skink Bridge - line to Possum Bend
|
|
|
Possum Bend
|
|
|
Mosquito Flats, Combo Station/Goods Shed
|
|
|
Hells Gate Junction (Line from Coal Loader)
|
|
|
Passing Loop Junction, divert onto Passing Loop
|
|
|
Escarpment Bend (to Hammock Junction)
|
|
|
Spiral Junction, divert HERE to Spiral Line
|
|

|
Spiral Cutting
|
|

|
Spiral Bridge
|
|
|
Skink Station
|
|
|
Cubby Bridge
|
|
|
Cubby Halt
|
|

|
Curve into Orange
|
|
|
Orange Bridge
|
|
|
Portage Junction (Line from Sundial Station)
|
|
|
Curve approach onto Bridge
|
|
|
Frog Bridge
|
|
|
Curved trestle to Frog Bridge
|
|
|
Sundial Junction, (Line up from Basement)
|
|
|
Sundial Bridge
|
|
|
approach into Sundial Station
|
|

|
Sundial Passing Loop
|
|
|
Sundial Station
|
|
|
Portage Junction - return back up to Cubby Halt & beyond.
|
.
The main area of the BTR is the elevated section
where most train running activities occur.
The TABLE, Tabletop precinct and Shenanigan's precinct had to be removed after an Ant Invasion of the timber work.
This Plan has those areas and features REMOVED still showing and yet crossed through with a red line.
This version of the Track Plan is "CLICKABLE" just hover over a name or feature and "click' to see more details.
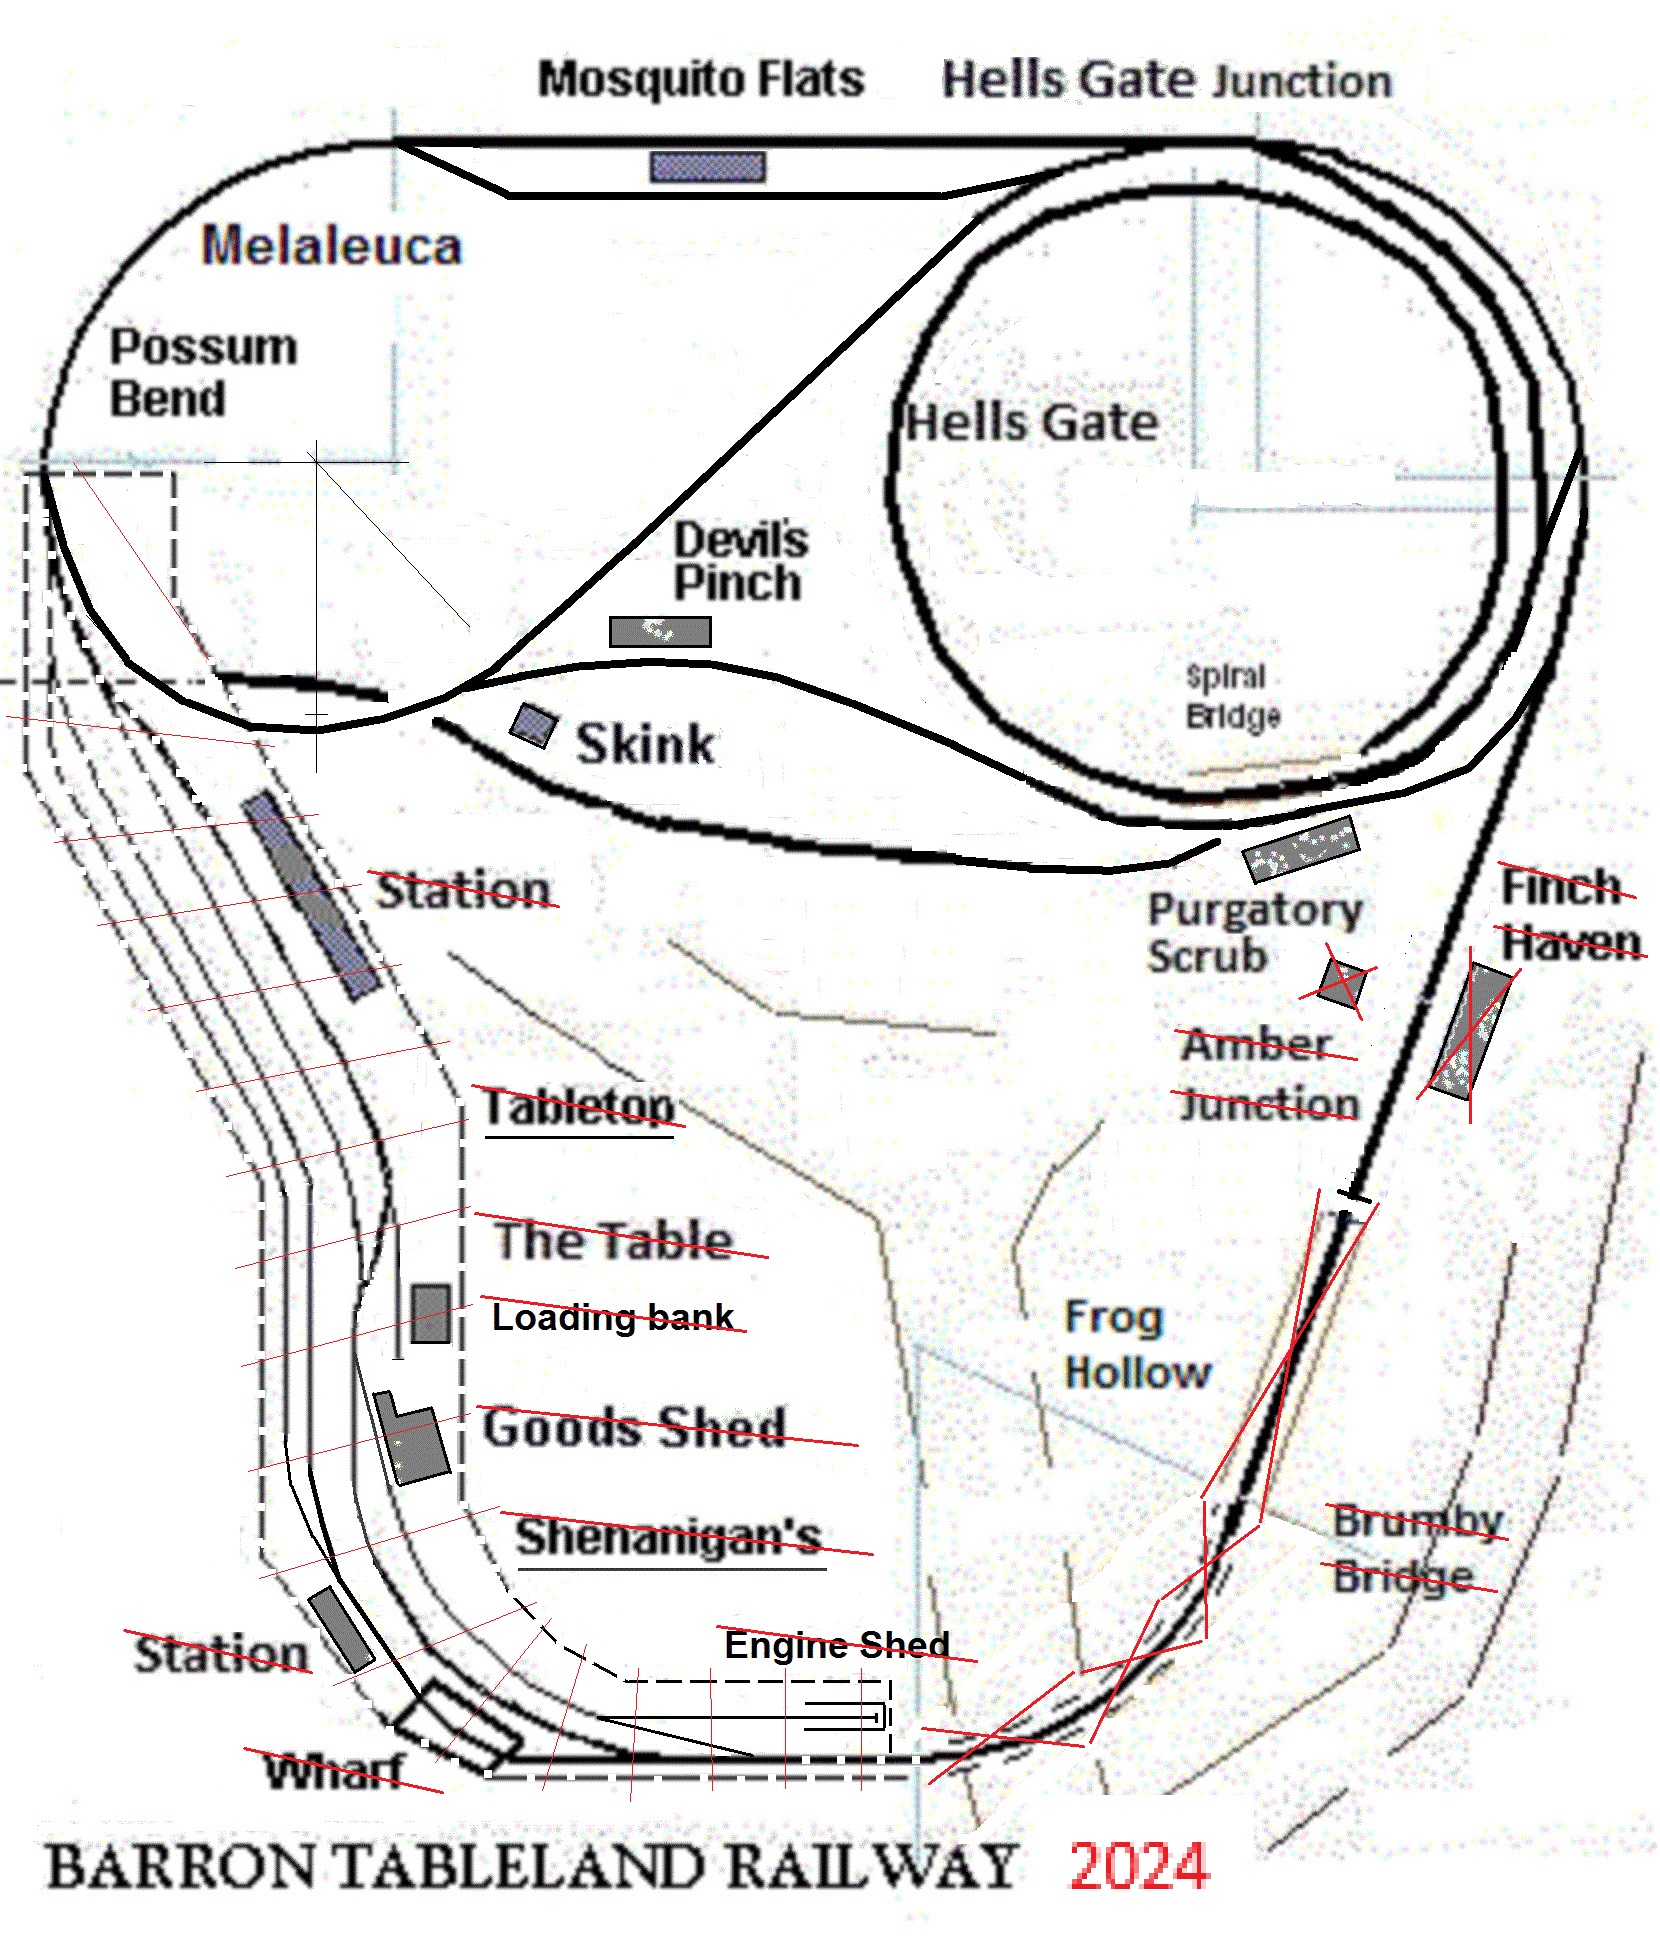
To see pages on each feature / locality
Move curser over the Track Plan, then 'click' over a Locality name to see details.
.
To see a closeup Diagram of the track plan at Tabletop/Shenanigan's,
just 'click' on the drawing box below.
.
.
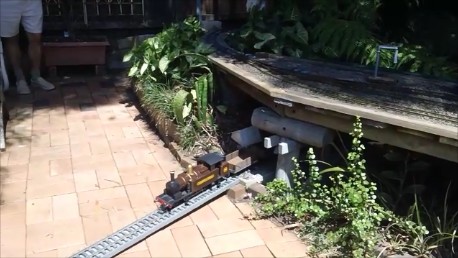
Sundial Loop allows trains to return to the main Garden Railway.
to see a Close Up of the drawing 'click' on the photo below.
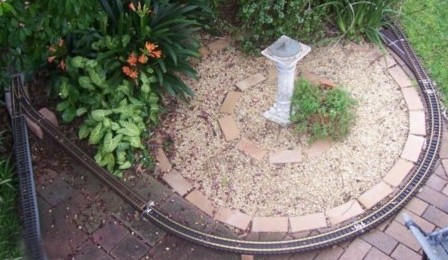
To see a page for each locality on that drawing,
Move curser over the locality NAME in the 'clickable' drawing below.
.
.
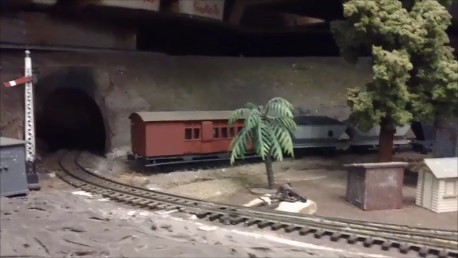
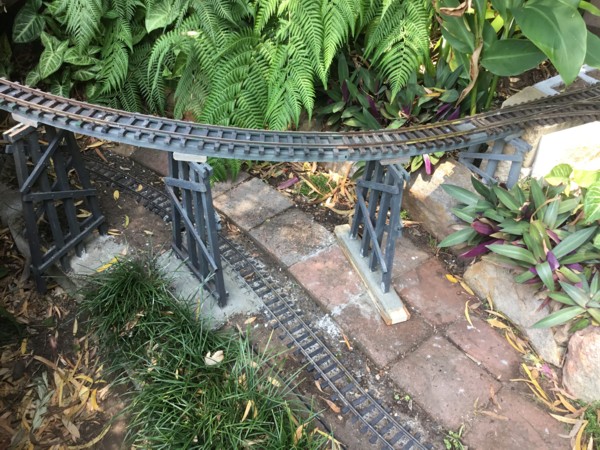
There is also a line that runs from Sundial Junction, across Pathway Bridge
then through 'Hole in the Wall' into the Basement under the house.
This allows trains to be stored on sidings out of the weather.
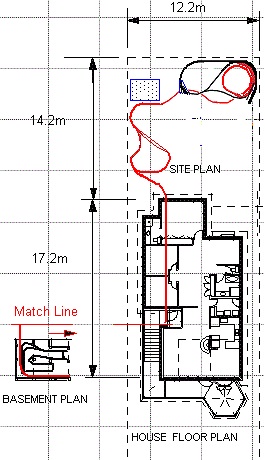
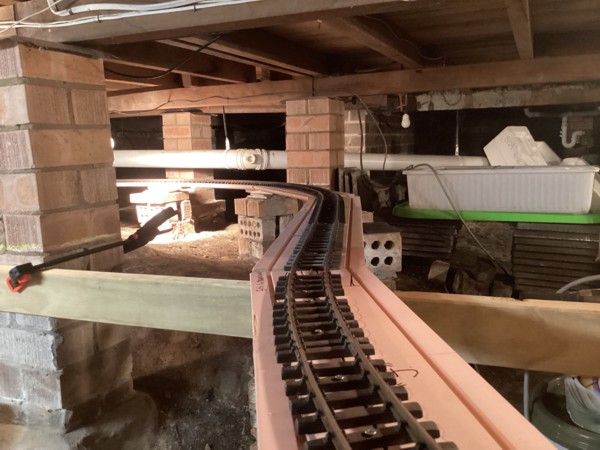
The line from Sundial through "hole-in-the-wall".
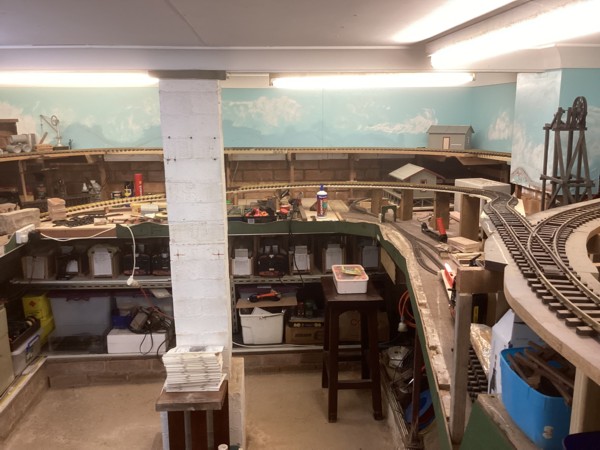
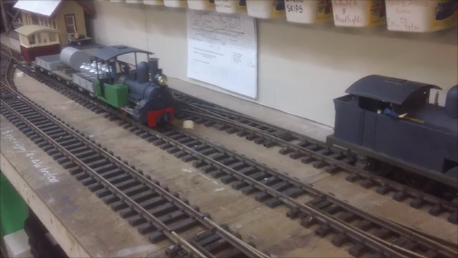
The track layout under the house floor, whole basement.
There is a Balloon Loop under the house floor that allows INDOOR train running on days that are rainy or too hot to be out in the Garden Railway.
To view details of the Basement G Scale circuit
just 'click' within the sketch BOXES below.

.

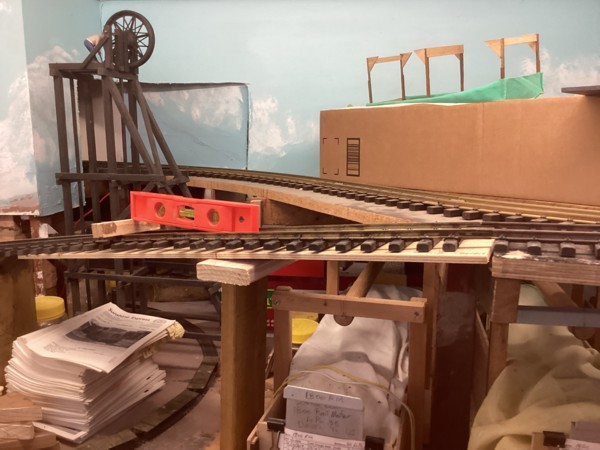
There is a DECLINE track between the basement Upper and Lower levels.
.
.
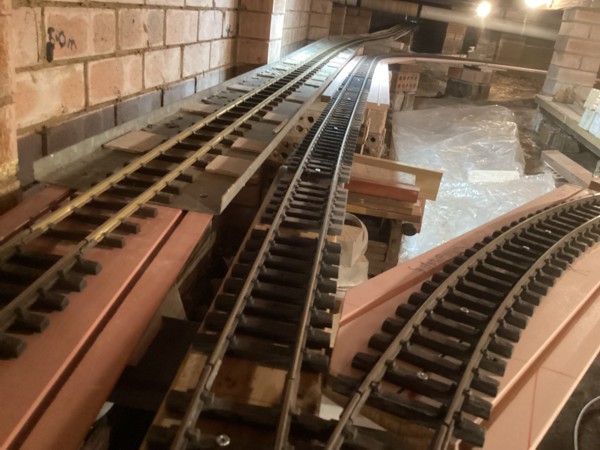
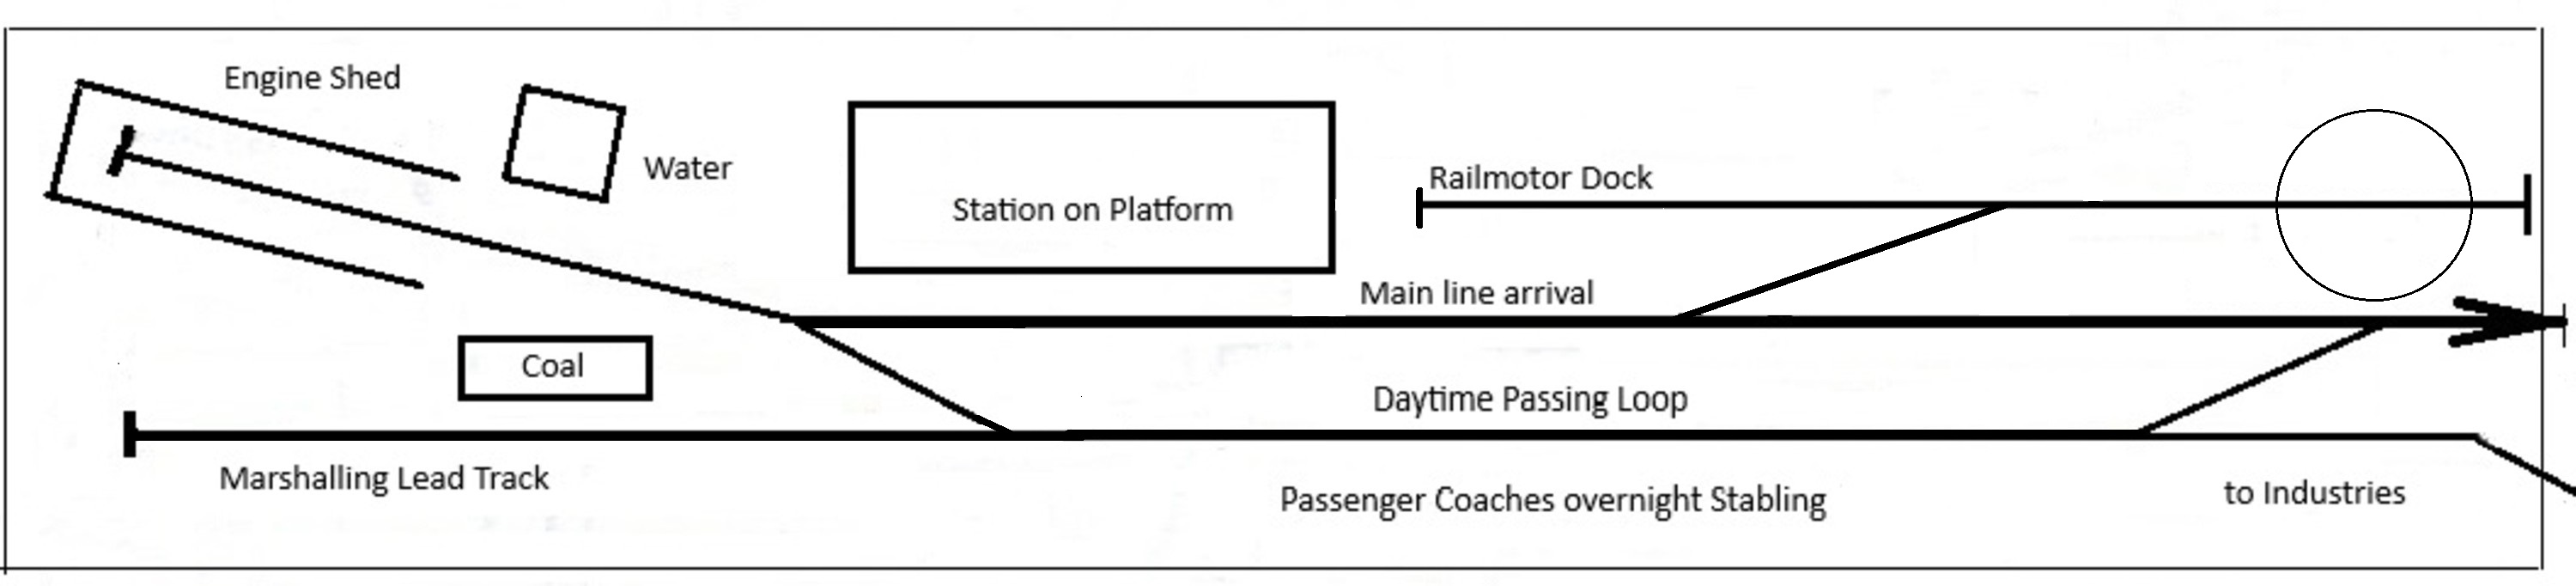
The DECLINE track in the basement runs down to the lower level.
There trains can be marshalled ready to haul up the 1 in 12 gradient to the basement circuit then further to 'Hole in the Wall'
thence out into the Garden Railway in the back yard.
This allows trains to be stored on sidings out of the weather.
.
.
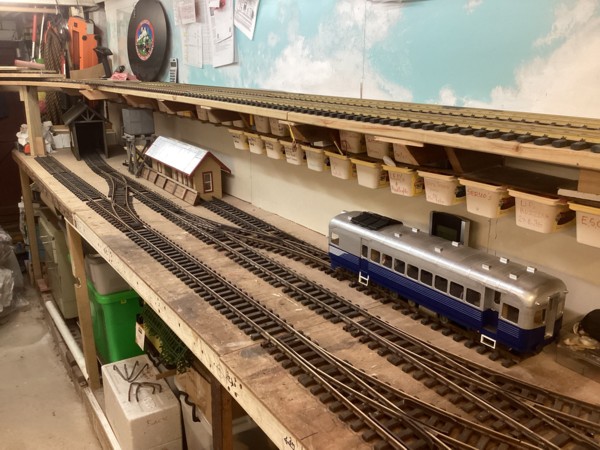
In the crawl space under the house the grade is compensated to slow trains down.
Trains that are in the basement can be managed in several ways;
* Put onto storage shelves or into boxes for storage.
* Sent further down the decline to the Shunting Yard where train swaps are done.
* deviated to a basement loop track to go back out to Garden Railway.
.
.
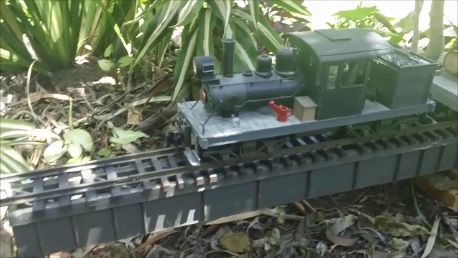
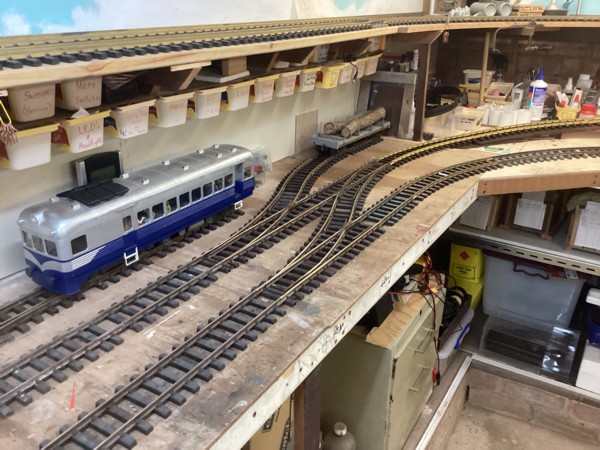
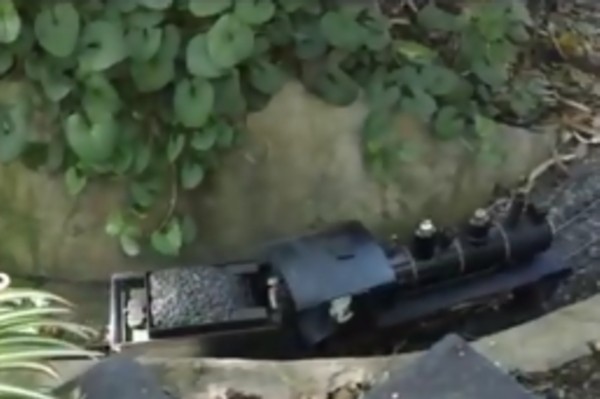
Watch a short Video on the Basement balloonloop and circuit.
just 'click' on the photo below.
.
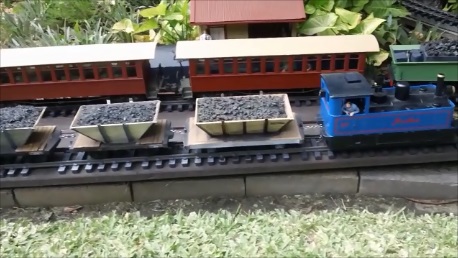
Watch another short Video of the Decline to the Lower Shunting Yard.
just 'click' on the photo below.
.
To ride Home, click on your ticket
.
|


